Best Methods to Install Batting Cage Netting
So, you’re building a cage and stuck figuring out how to install batting cage netting? That’s fantastic! Setting up a batting cage can unlock a whole new level of training and fun—but when it comes to hanging the netting, you might be thinking, “Where do I even start?” I was right there with you when I began my first build.
Don’t worry—I’ve got your back. Whether you want a permanent professional-grade setup or a quick, removable solution, this guide walks you through the top methods for hanging your netting the right way. From cable suspension systems to ceiling mounts, you’ll be ready to create a safe, effective, and long-lasting batting cage setup.
Let’s dive in!
1. The Cable Suspension System: Flexible and Efficient
The cable suspension method is a favorite among DIYers for its adjustability and clean look—think of it like setting up a zipline for your netting.
How to Do It:
- Frame Setup: Build a sturdy frame using metal poles or pressure-treated lumber.
- Cable Installation: Run steel cables (or durable nylon rope) across the top of the frame. Keep them tight!
- Net Attachment: Clip the netting onto the cables using carabiners, zip ties, or net clips.
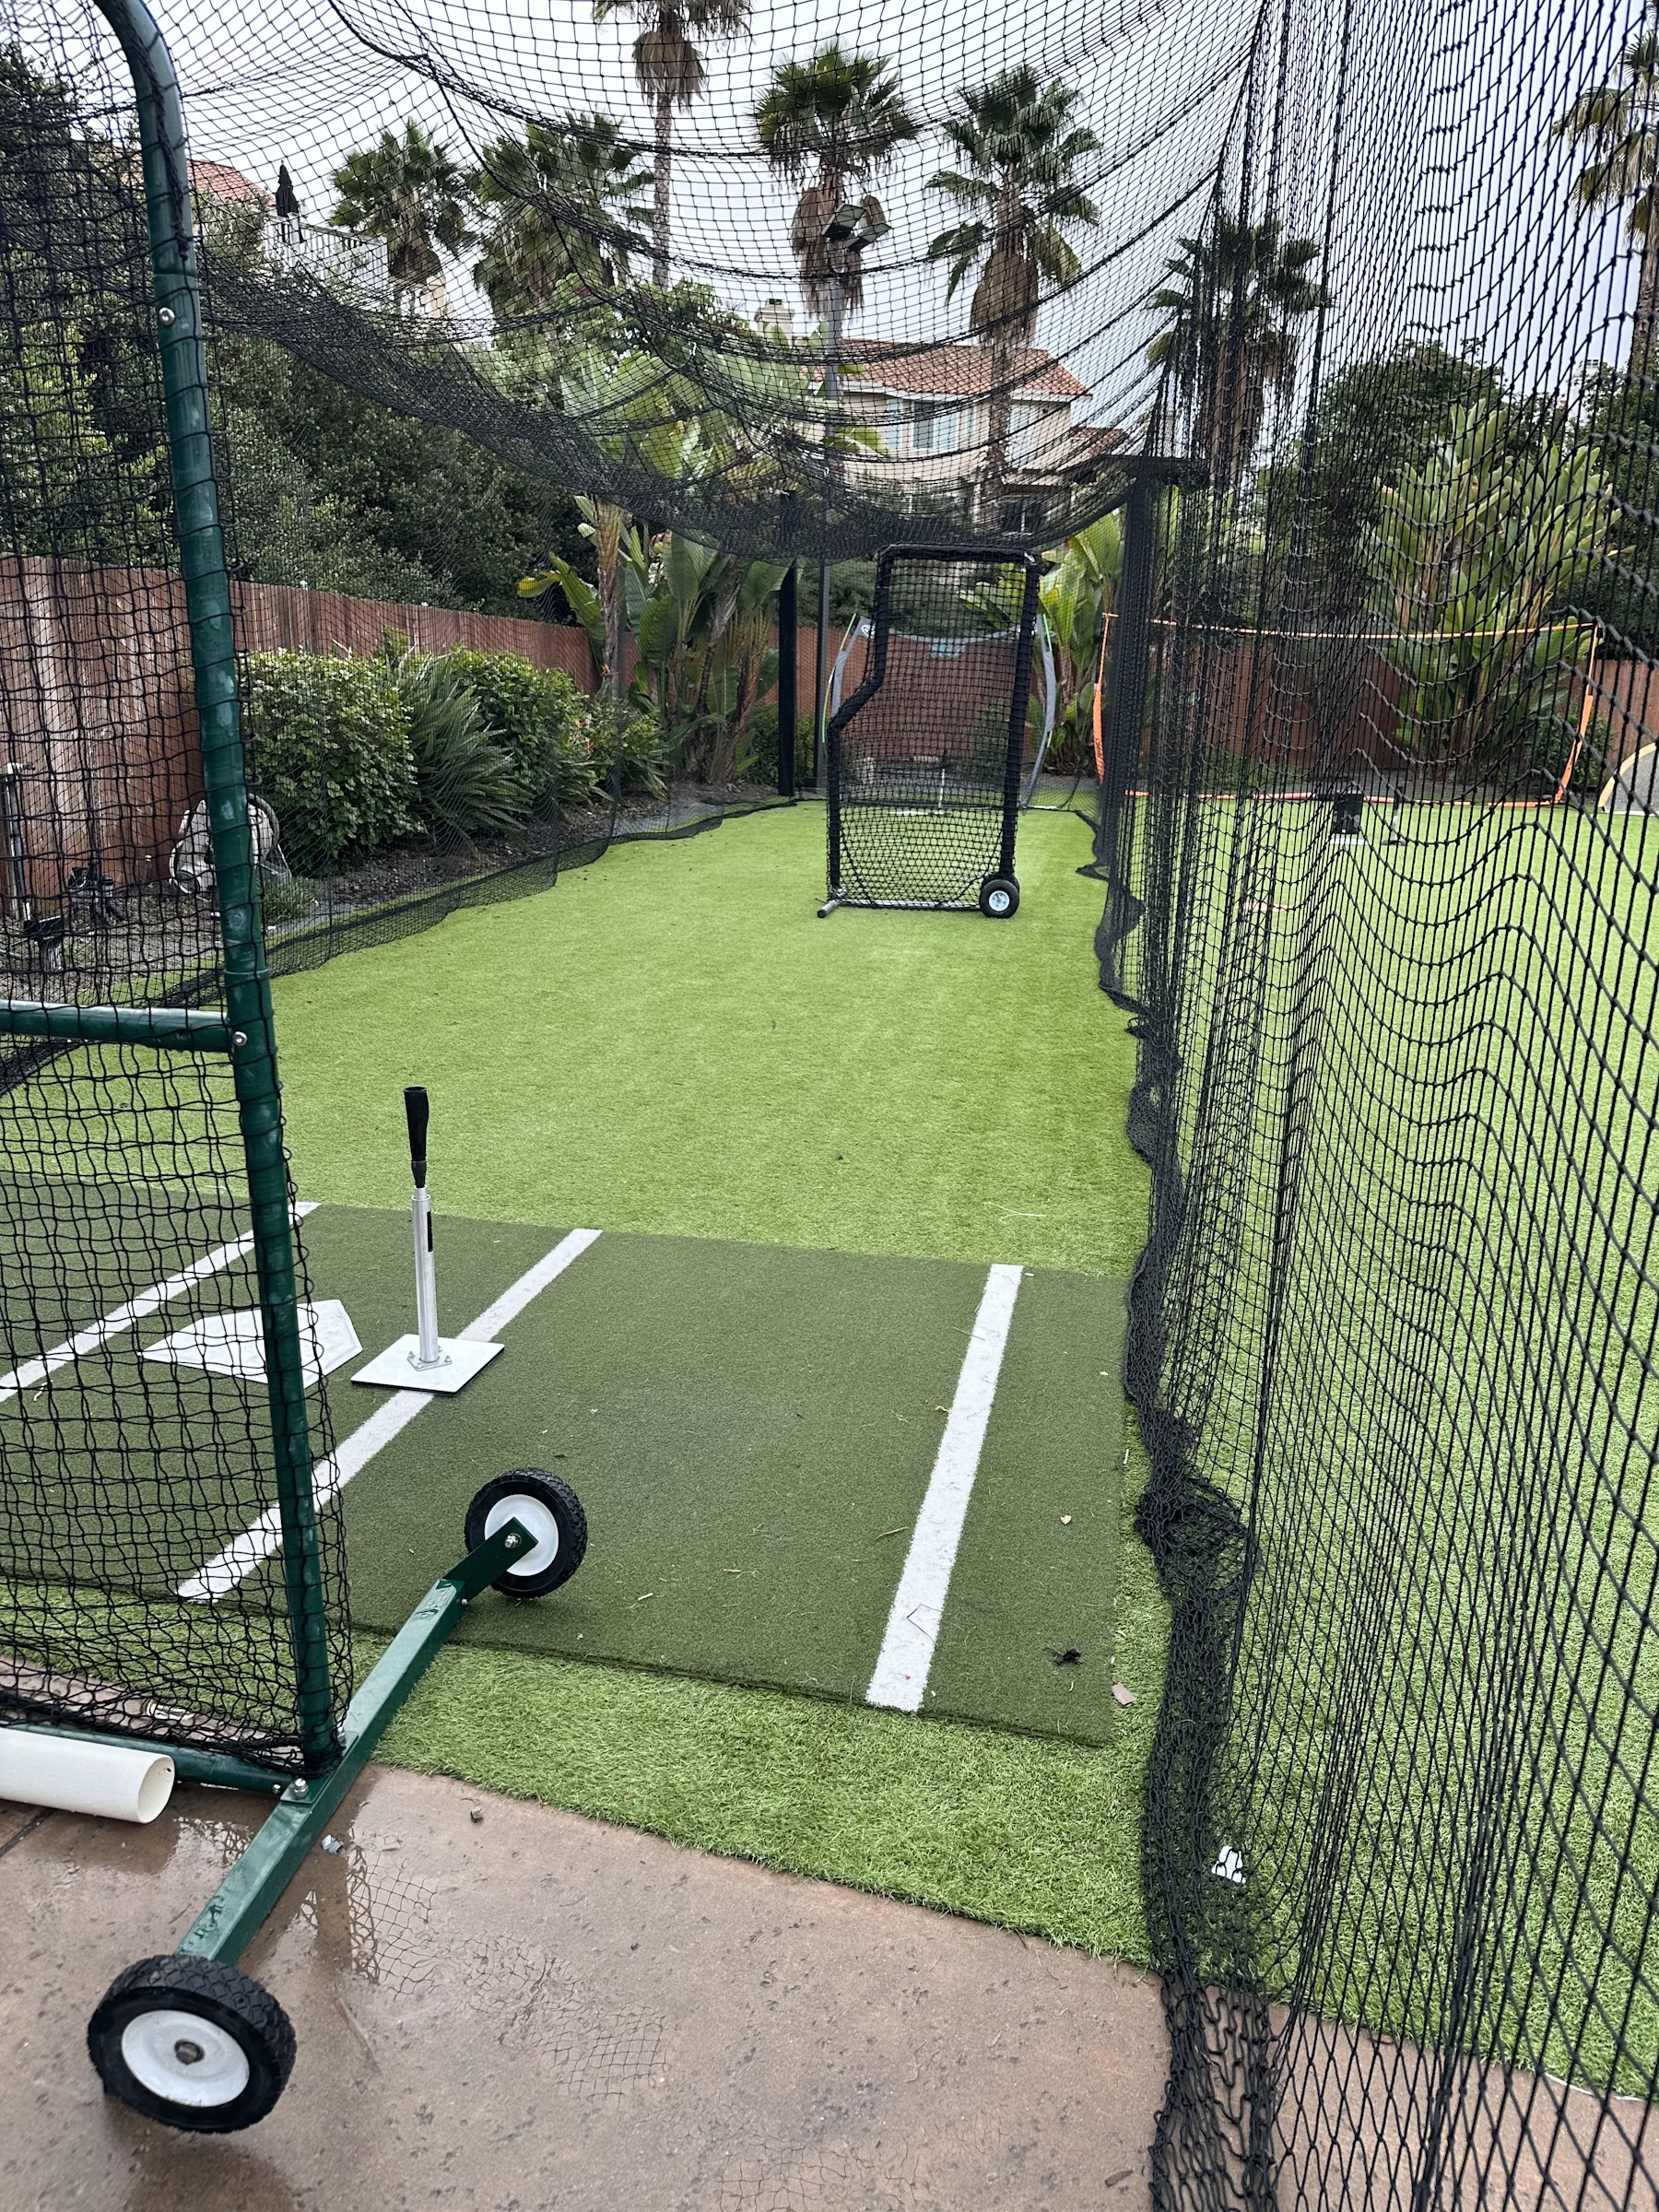
Why It’s Great: Easy to take down or adjust, gives a pro look, and is perfect for semi-permanent installs.
2. Direct Attachment to a Frame: Sturdy and Reliable
If you’re going for a rock-solid, permanent setup, this is the way to go. Attach the netting directly to the frame for maximum stability.
How to Do It:
- Frame Construction: Build your frame with metal, wood, or even PVC (though we don’t recommend PVC for long-term setups).
- Net Attachment: Use zip ties or net clips to secure the netting along the top, sides, and corners.
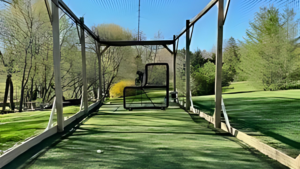
Why It’s Great: This method gives long-term peace of mind—just like building a deck, it’s built to last.
3. Freestanding Pole System: Simple and Versatile
Don’t want to commit to a permanent frame? Freestanding poles offer flexibility and are easy to rearrange or move if needed.
How to Do It:
- Pole Installation: Place freestanding poles at each corner and midway for larger cages.
- Net Hanging: Use hooks, rings, or carabiners to hang the net from pole-mounted anchors.
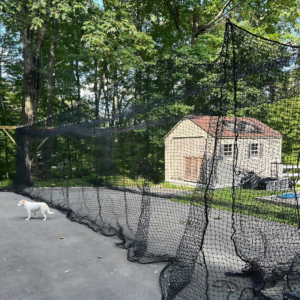
Why It’s Great: Great for both indoor and outdoor use. It’s like setting up a batting cage tent—simple and mobile.
4. Ceiling or Wall Mount: Perfect for Indoor Setups
If you’ve got a garage, basement, or indoor training space, wall or ceiling-mounted netting is a sleek and space-saving solution.
How to Do It:
- Anchor Points: Secure hooks or eye bolts to the ceiling joists or wall studs.
- Net Attachment: Hang netting using ropes, zip ties, or carabiners spaced evenly for tension.
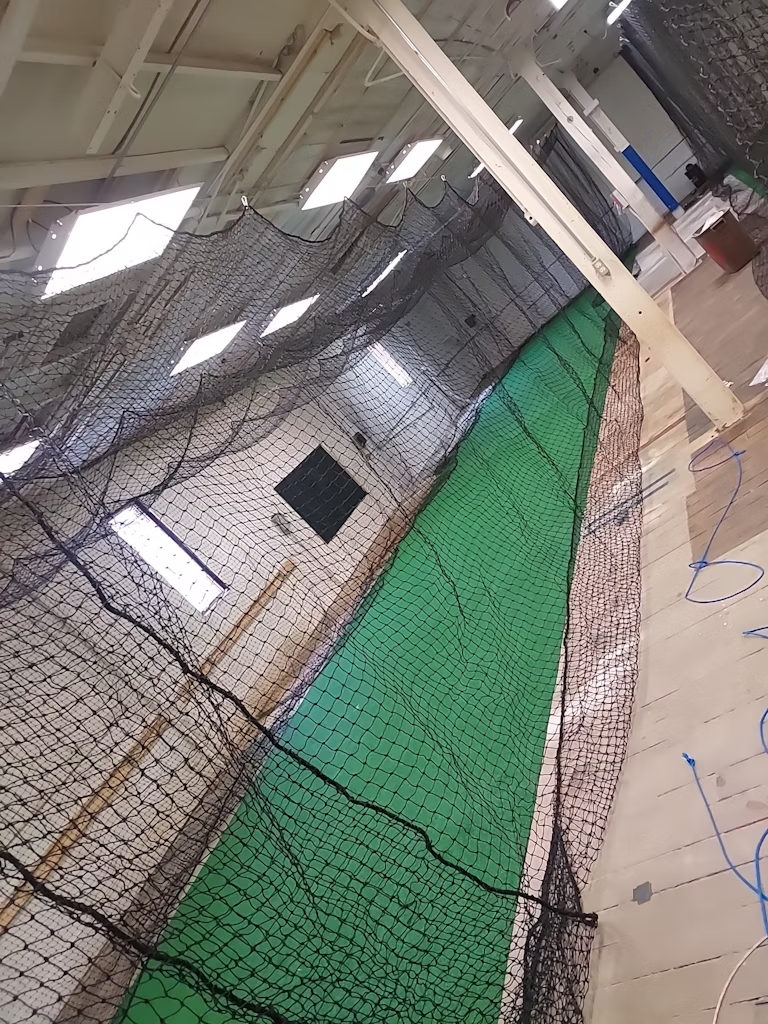
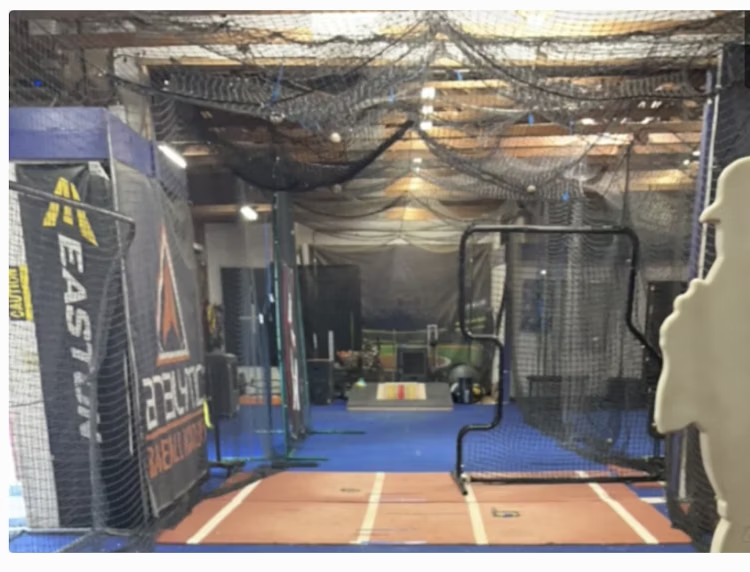
Why It’s Great: It keeps your space usable and uncluttered. Ideal for winter training or rainy-day practice.
5. Portable Batting Cage Kits: Convenient and Quick
Want an all-in-one solution? Portable batting cage kits include everything you need and are designed for easy assembly and takedown.
How to Do It:
- Assemble Frame: Follow kit instructions—usually tool-free or minimal assembly.
- Attach Netting: Netting hooks easily into the frame using pre-configured anchors or clips.
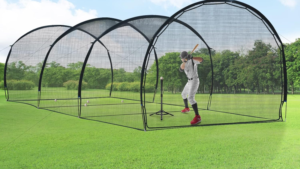
Why It’s Great: Perfect for youth players and families. Quick to build, easy to store, and usually affordable.
6. Weighted Ground System: Fast and Temporary
Need a quick cage setup without tools or anchors? Try the weighted ground system.
How to Do It:
- Drape Netting: Hang netting over any existing frame, beam, or rope line.
- Secure Base: Use sandbags, bricks, or water-filled weights to keep the net grounded.
Why It’s Great: It’s fast, temporary, and ideal for weekend use or field setups.
Tips for Success
- Measure Accurately: Ensure the netting fits the frame before starting.
- Keep Tension Tight: Loose nets can snag or fall. Keep it snug!
- Check Safety: All fasteners should be tight and secure to avoid accidents.
- Inspect Regularly: Look for wear, especially with outdoor setups exposed to sun and rain.
With the right method and a bit of planning, installing batting cage netting can be a smooth, rewarding project. Whether you’re setting up a practice station for your kids or building something to rent out, you’re one step closer to a killer batting cage setup. 💪
PS: Want to Earn from Your Cage?
You can list your backyard batting cage on CageList.com and rent it out to other ballplayers in your area. The better your setup, the more you can charge—think of it like Airbnb, but for baseball training spaces.
Need ideas or community support?
- ✅ Join our Backyard Batting Cages Facebook Group
- ✅ Subscribe to the CageList Blog for expert guides and cage-building tips
