
🧤 How to Install Turf in Your Batting Cage (Complete Guide)
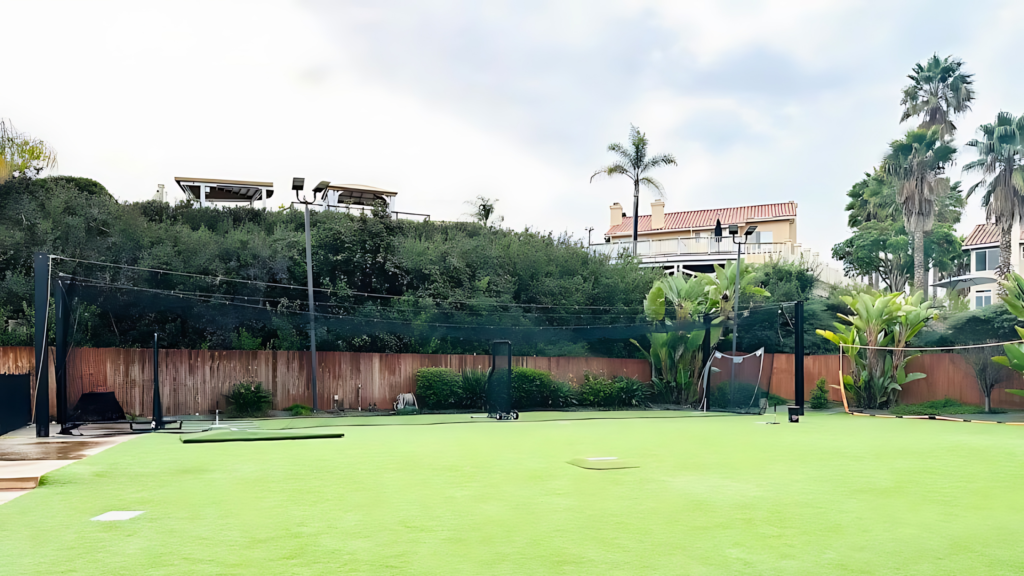
When building a backyard batting cage, choosing the right turf can make or break the experience. Turf not only adds a professional feel but also improves safety, playability, and long-term durability. In this guide, we’ll walk you through the benefits of turf, your turf options, and the best installation tips to make sure your cage feels top-tier.
⚾ Why Use Turf in a Batting Cage?
- Durability: Withstands heavy use, weather, and wear.
- Safety: Soft and consistent surface minimizes slips and injuries.
- Low Maintenance: No mowing, watering, or reseeding.
- All-Weather Access: Turf drains quickly and stays dry.
🌱 Types of Batting Cage Turf
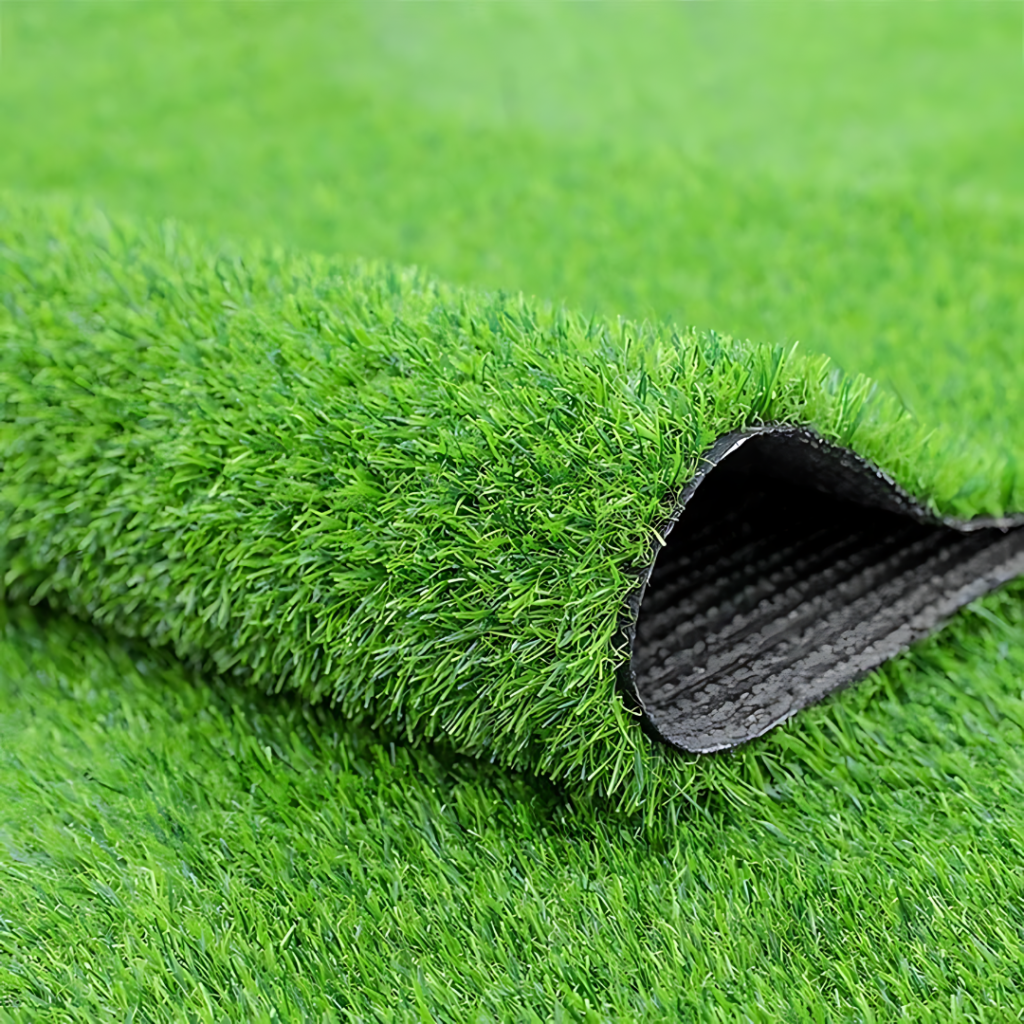
1. Artificial Turf
Artificial turf mimics grass but is tougher and more consistent.
Pros:
- Long-lasting and realistic look
- Minimal maintenance
- Comes in multiple thicknesses
Cons:
- More expensive
- May require pro installation
2. Carpet Turf
Common for indoor cages, carpet turf feels like a thick mat and is easy to work with.
Pros:
- Great for indoor use
- Soft and cushioned
- Simple DIY install
Cons:
- Not very realistic looking
- Can wear down quickly
3. Rubber Infill Turf
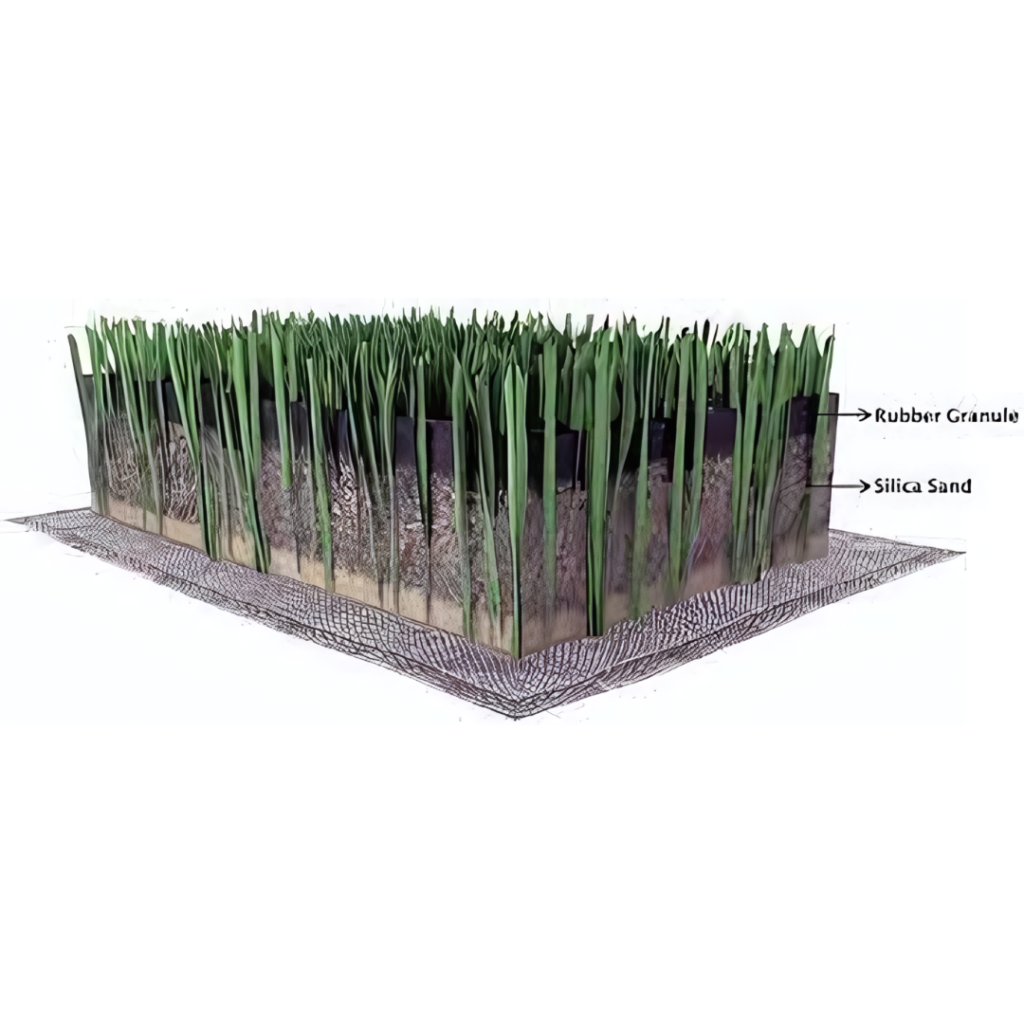
This turf has rubber granules built in to absorb shock—perfect for long hitting sessions.
Pros:
- Best for shock absorption and injury prevention
- Eco-friendly (recycled material)
Cons:
- Costs more
- Color may fade outdoors
🛠️ How to Install Batting Cage Turf Like a Pro
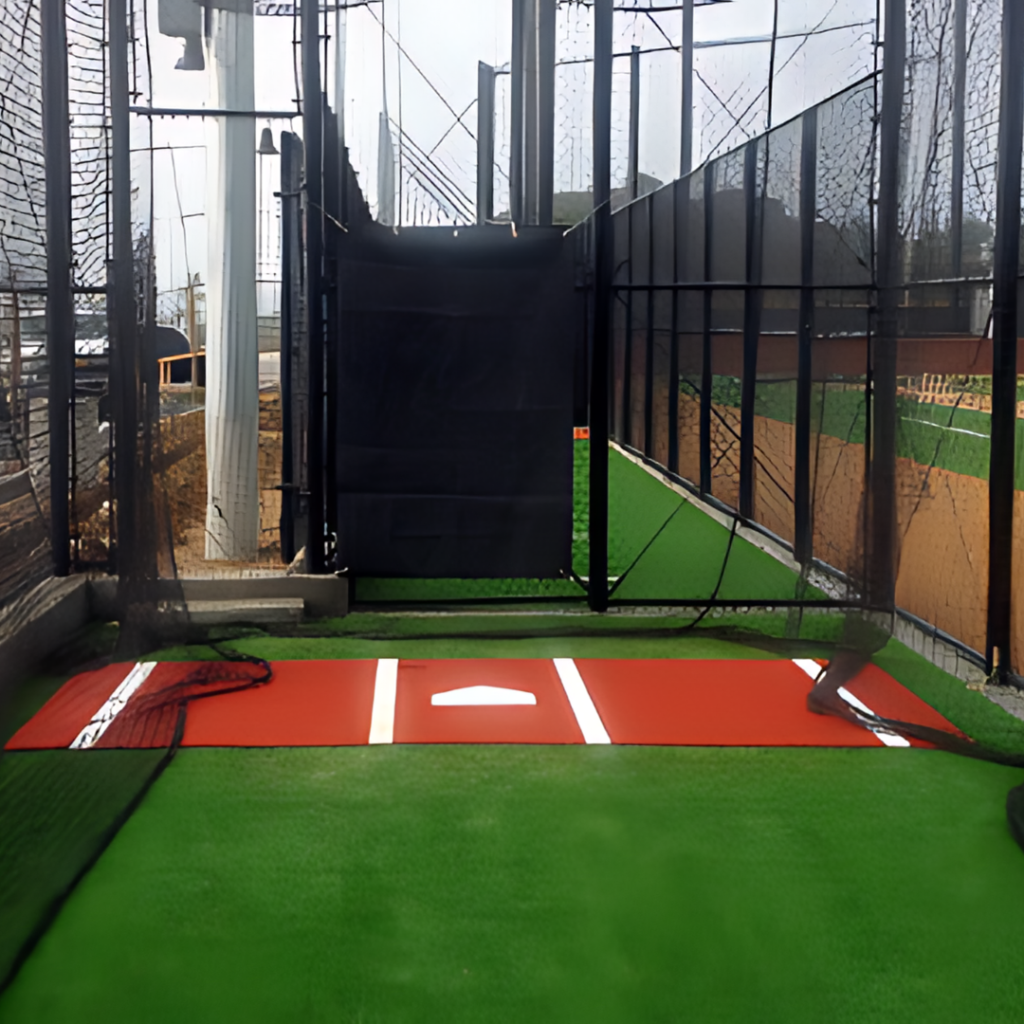
1. Prepare the Base
For outdoor installs, level the ground and use gravel or crushed stone to promote drainage. For indoor cages, clear and sweep the floor surface.
2. Measure Twice, Cut Once
Use a sharp utility knife and cut carefully to your cage dimensions. Leave a bit of extra turf on the edges for clean trimming once placed.
3. Secure the Turf
Use outdoor turf adhesive, indoor double-sided tape, or turf staples depending on the surface. Apply evenly and flatten out any bumps.
4. Seam and Join
Connect any separate turf rolls with seam tape or adhesive. Apply pressure along the seam and let it bond securely before using the space.
5. Add Infill (Optional)
Some turf types benefit from rubber or sand infill to help weight the surface and improve bounce. Use a push broom to spread it evenly.
6. Inspect and Test
Before hitting, walk the area and ensure there are no raised edges, slippery spots, or loose seams. Fix issues early for long-term safety.
7. Clean and Maintain
Vacuum or broom regularly. Check seams and edges every few months. A well-kept turf surface lasts years with minimal upkeep.
🏁 Final Thoughts
Installing turf in your batting cage not only improves performance—it boosts safety, resale value, and overall usability. Whether you’re creating a personal training space or prepping your cage for renters on CageList, turf is a worthy upgrade.
Want to see how others have built their cages? Check out this Facebook group or browse turf-equipped listings at CageList.com.
PS:
Did you know you can list your batting cage on CageList and earn money by renting it out? The better your setup—like installing pro-quality turf—the more you can charge per hour!