
Navigating the Pitfalls of Building Your Own Backyard Batting Cage
Thinking of building your own backyard batting cage? It’s one of the best ways to invest in your baseball or softball training. Having a dedicated practice space just steps away from your door is a game-changer. But before you grab your tools and netting, it’s important to understand the common pitfalls many first-time builders face. From permits to materials to neighborhood impact—this guide will walk you through what to know before you start digging.
Let’s explore the essential factors to consider before building a backyard batting cage.
1. Zoning and Permits
Check your local zoning laws and building codes before starting construction. Many cities and counties have specific regulations around installing large structures like batting cages, especially permanent ones. Skipping this step could result in costly fines—or worse, being forced to tear it down. Always check with your city’s planning department to avoid surprises.
2. Space Considerations
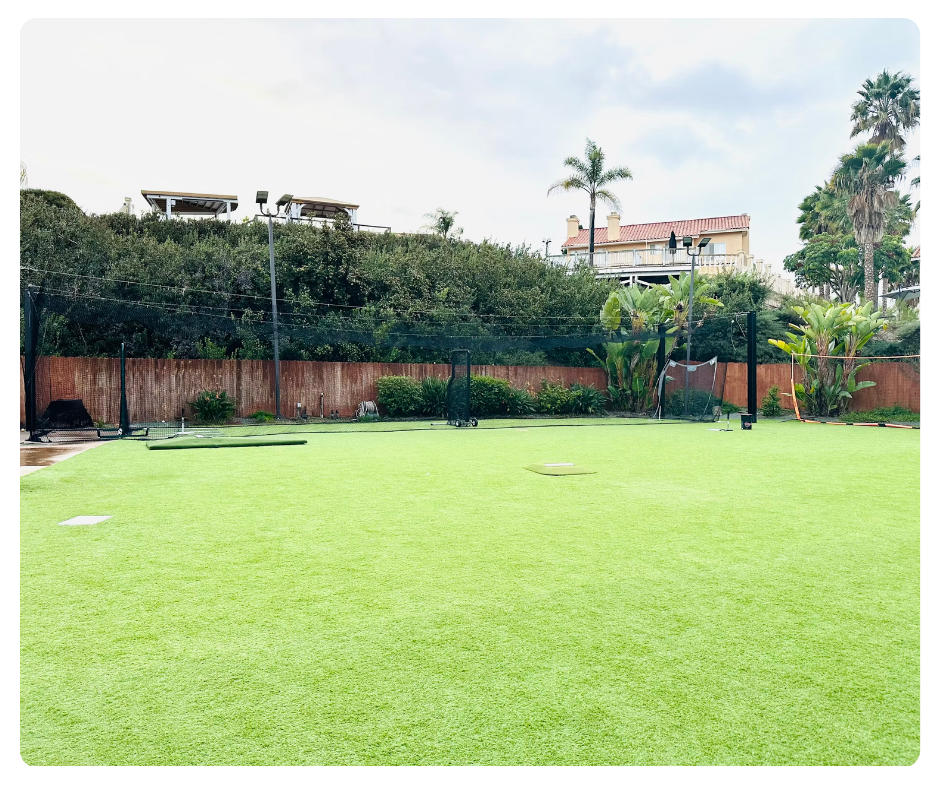
Measure twice, build once. While a 70-foot cage sounds amazing, be realistic about your yard’s size. Look for trees, fences, or power lines that could interfere. Also, think long-term—if you want to rent your cage out on CageList.com, a tiny cage may limit who can use it. For rentals, 55–70 feet is ideal for most serious hitters.
3. Material Selection
Your materials determine your cage’s durability. Budget PVC may be tempting, but it rarely holds up under daily use or tough weather. Instead, consider galvanized steel poles, UV-treated nylon or Kevlar netting, and weather-resistant hardware. A little more up front goes a long way in the long run.
4. Netting Quality
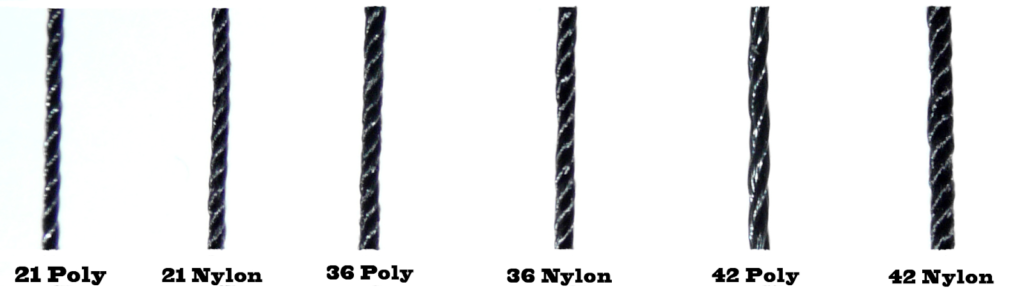
The netting is your first line of defense—and the difference between a smooth session and a broken window. Don’t skimp. Use high-density polyethylene (HDPE), nylon, or polyester netting with UV protection. We dive deeper into this in our blog post: Netting 101: Choosing the Right Thickness.
5. Proper Installation
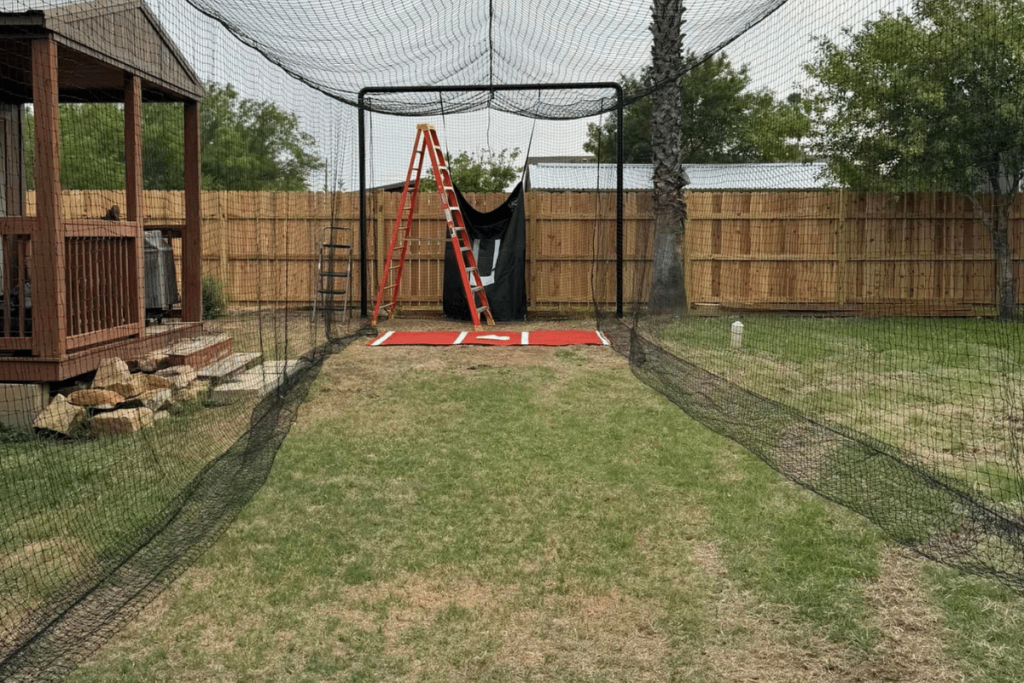
Great materials won’t matter if the build is unstable. Anchor your poles properly, stretch your net tight, and double-check your dimensions. Whether you go DIY or hire a professional, your setup needs to be secure and safe. Here’s a full comparison: DIY vs. Professional Installation.
6. Maintenance Requirements
Your cage isn’t a one-and-done build—it requires ongoing care. Check for rips in the netting, rust on poles, and any sagging areas. Fix small issues early before they become big repairs. Consider coating metal parts with weatherproof paint and bringing your netting inside during harsh winters if possible.
7. Neighborhood Considerations

Respect your neighbors. Sound from aluminum bats and pitching machines travels far. So do balls if your netting isn’t secure. Practice during reasonable hours and install noise-dampening barriers if needed. Good fences make good neighbors—so does a well-built, quiet batting cage.
Conclusion
Building a backyard batting cage is a fantastic investment—but only if done right. By planning carefully, using quality materials, and respecting local laws and neighbors, you’ll create a lasting space for training, family fun, or even rental income. Avoid these pitfalls, and your backyard setup can pay dividends for years to come.
Looking for inspiration? Here are 4 real backyard batting cages listed in Washington:
- North Tacoma Batting Cage – $50/hour. A clean, well-lit backyard setup in a prime Tacoma location. Great for teens and adults.
- 70ft Cage with Iron Mike in Roy, WA – $60/hour. Includes 30–98mph pitching machine, ideal for serious practice.
- 50-Foot Indoor Cage in Aberdeen – $25/hour. Features both baseballs and softballs in a covered indoor space—great for rainy days.
- Woodinville Combo Cage (Baseball + Cricket) – $45/hour. A versatile training space with lighting, open to all players.